
Adventures in Surface Design: Block-Printing and Fabric-Painting

There’s tons of beautiful canvas out there, but there’s something really exciting about using fabric that is 100% one-of-a-kind. By learning a few surface design techniques, you’ll have the tools in your toolbox to make any fabric design idea a reality!

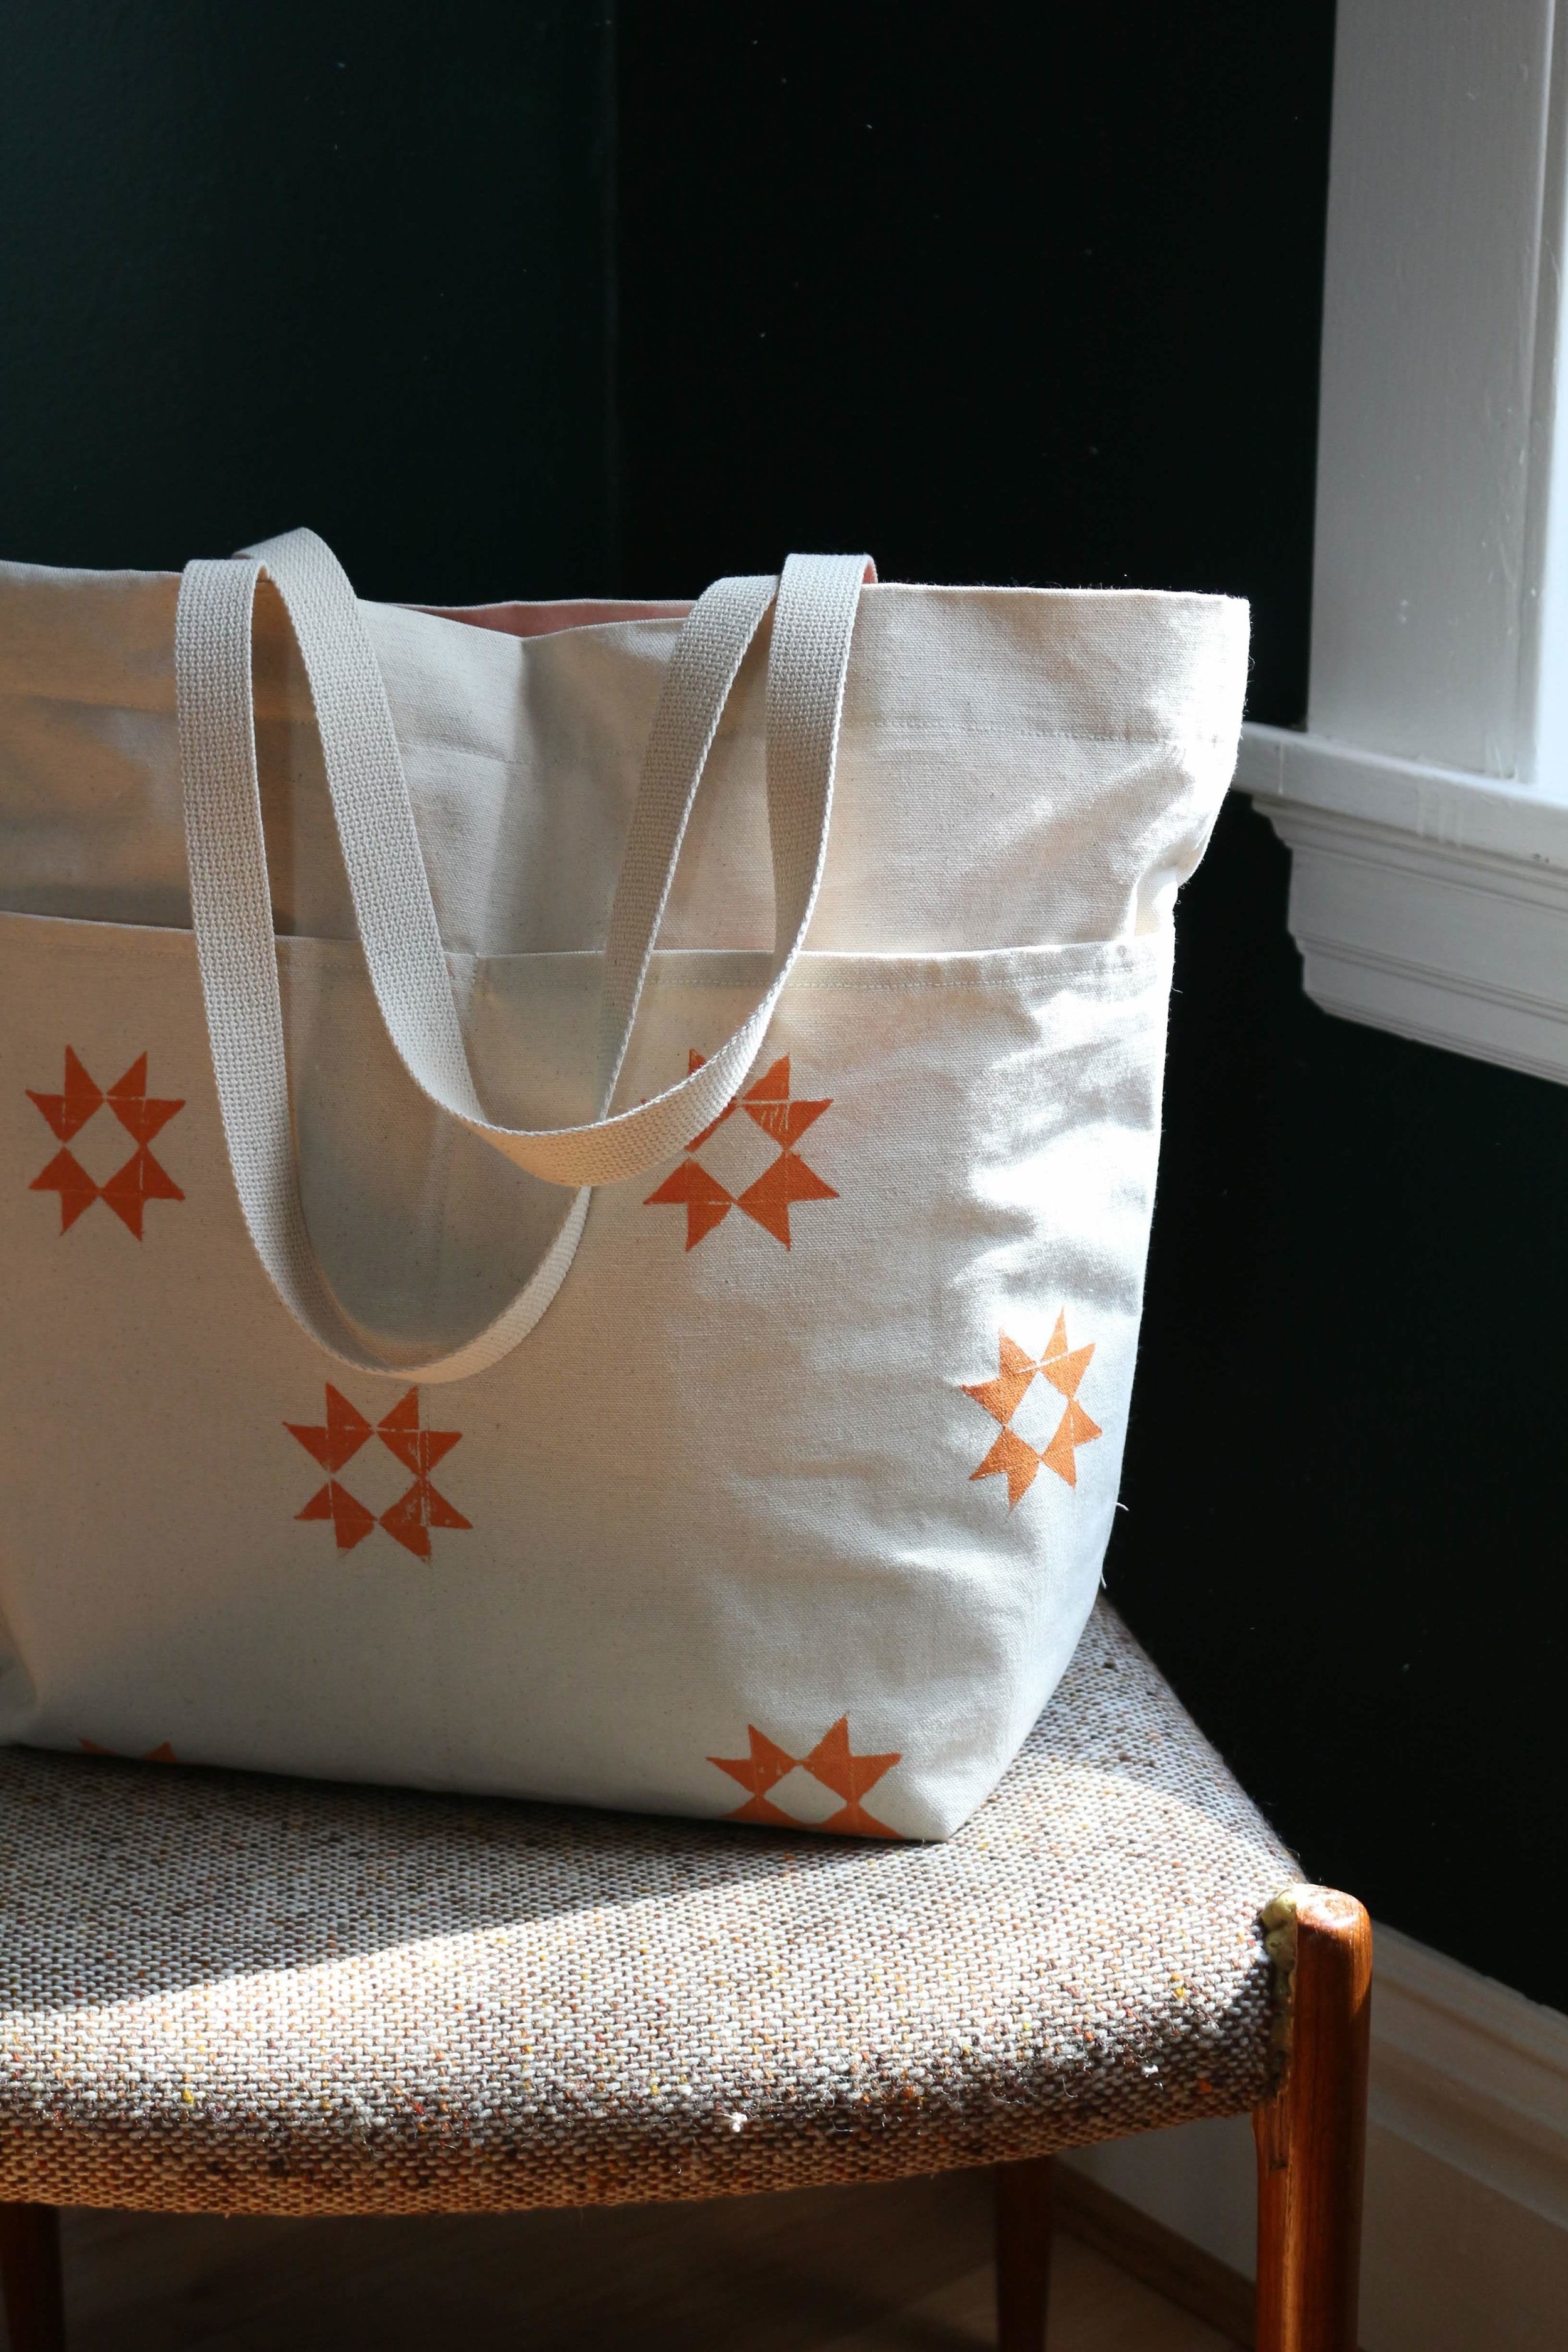
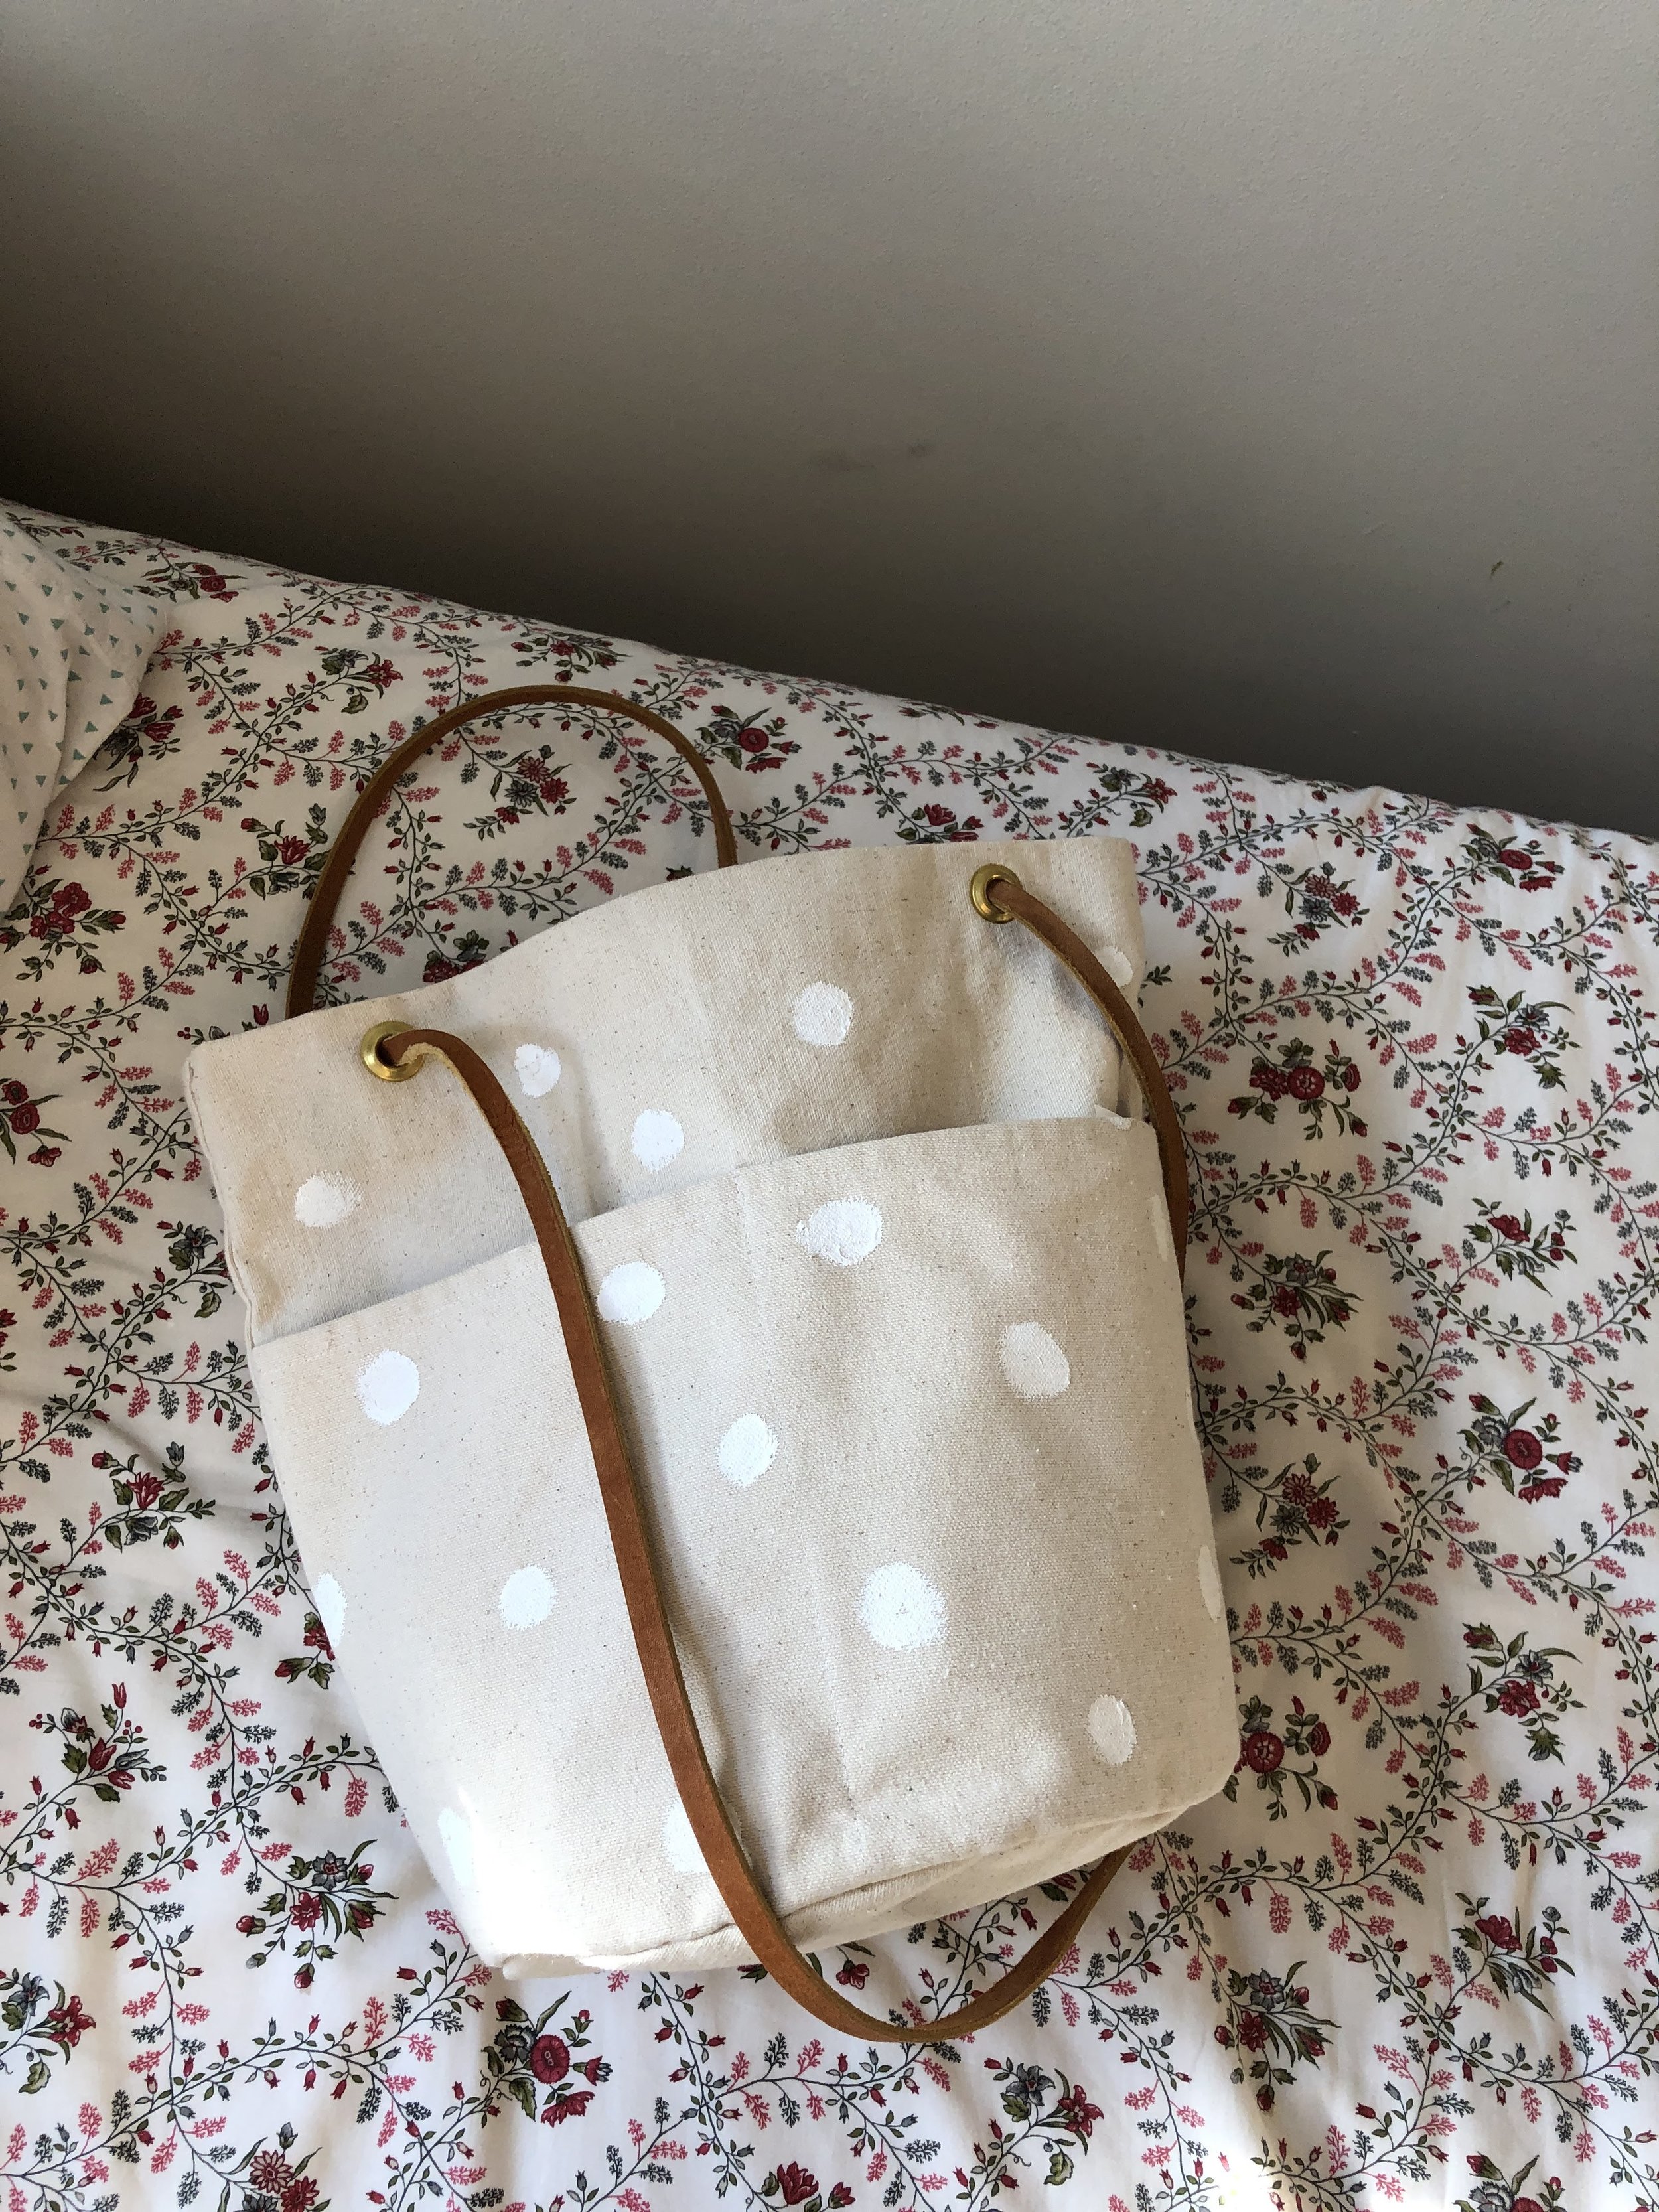
We love to see unique surface design ideas being used for our canvas bag patterns — the All Well Weekender, the All Well Bucket Bag, and the Half Moon Zip. We’ve done it ourselves on a couple of our samples, and they’re some of our favorite bags to use!
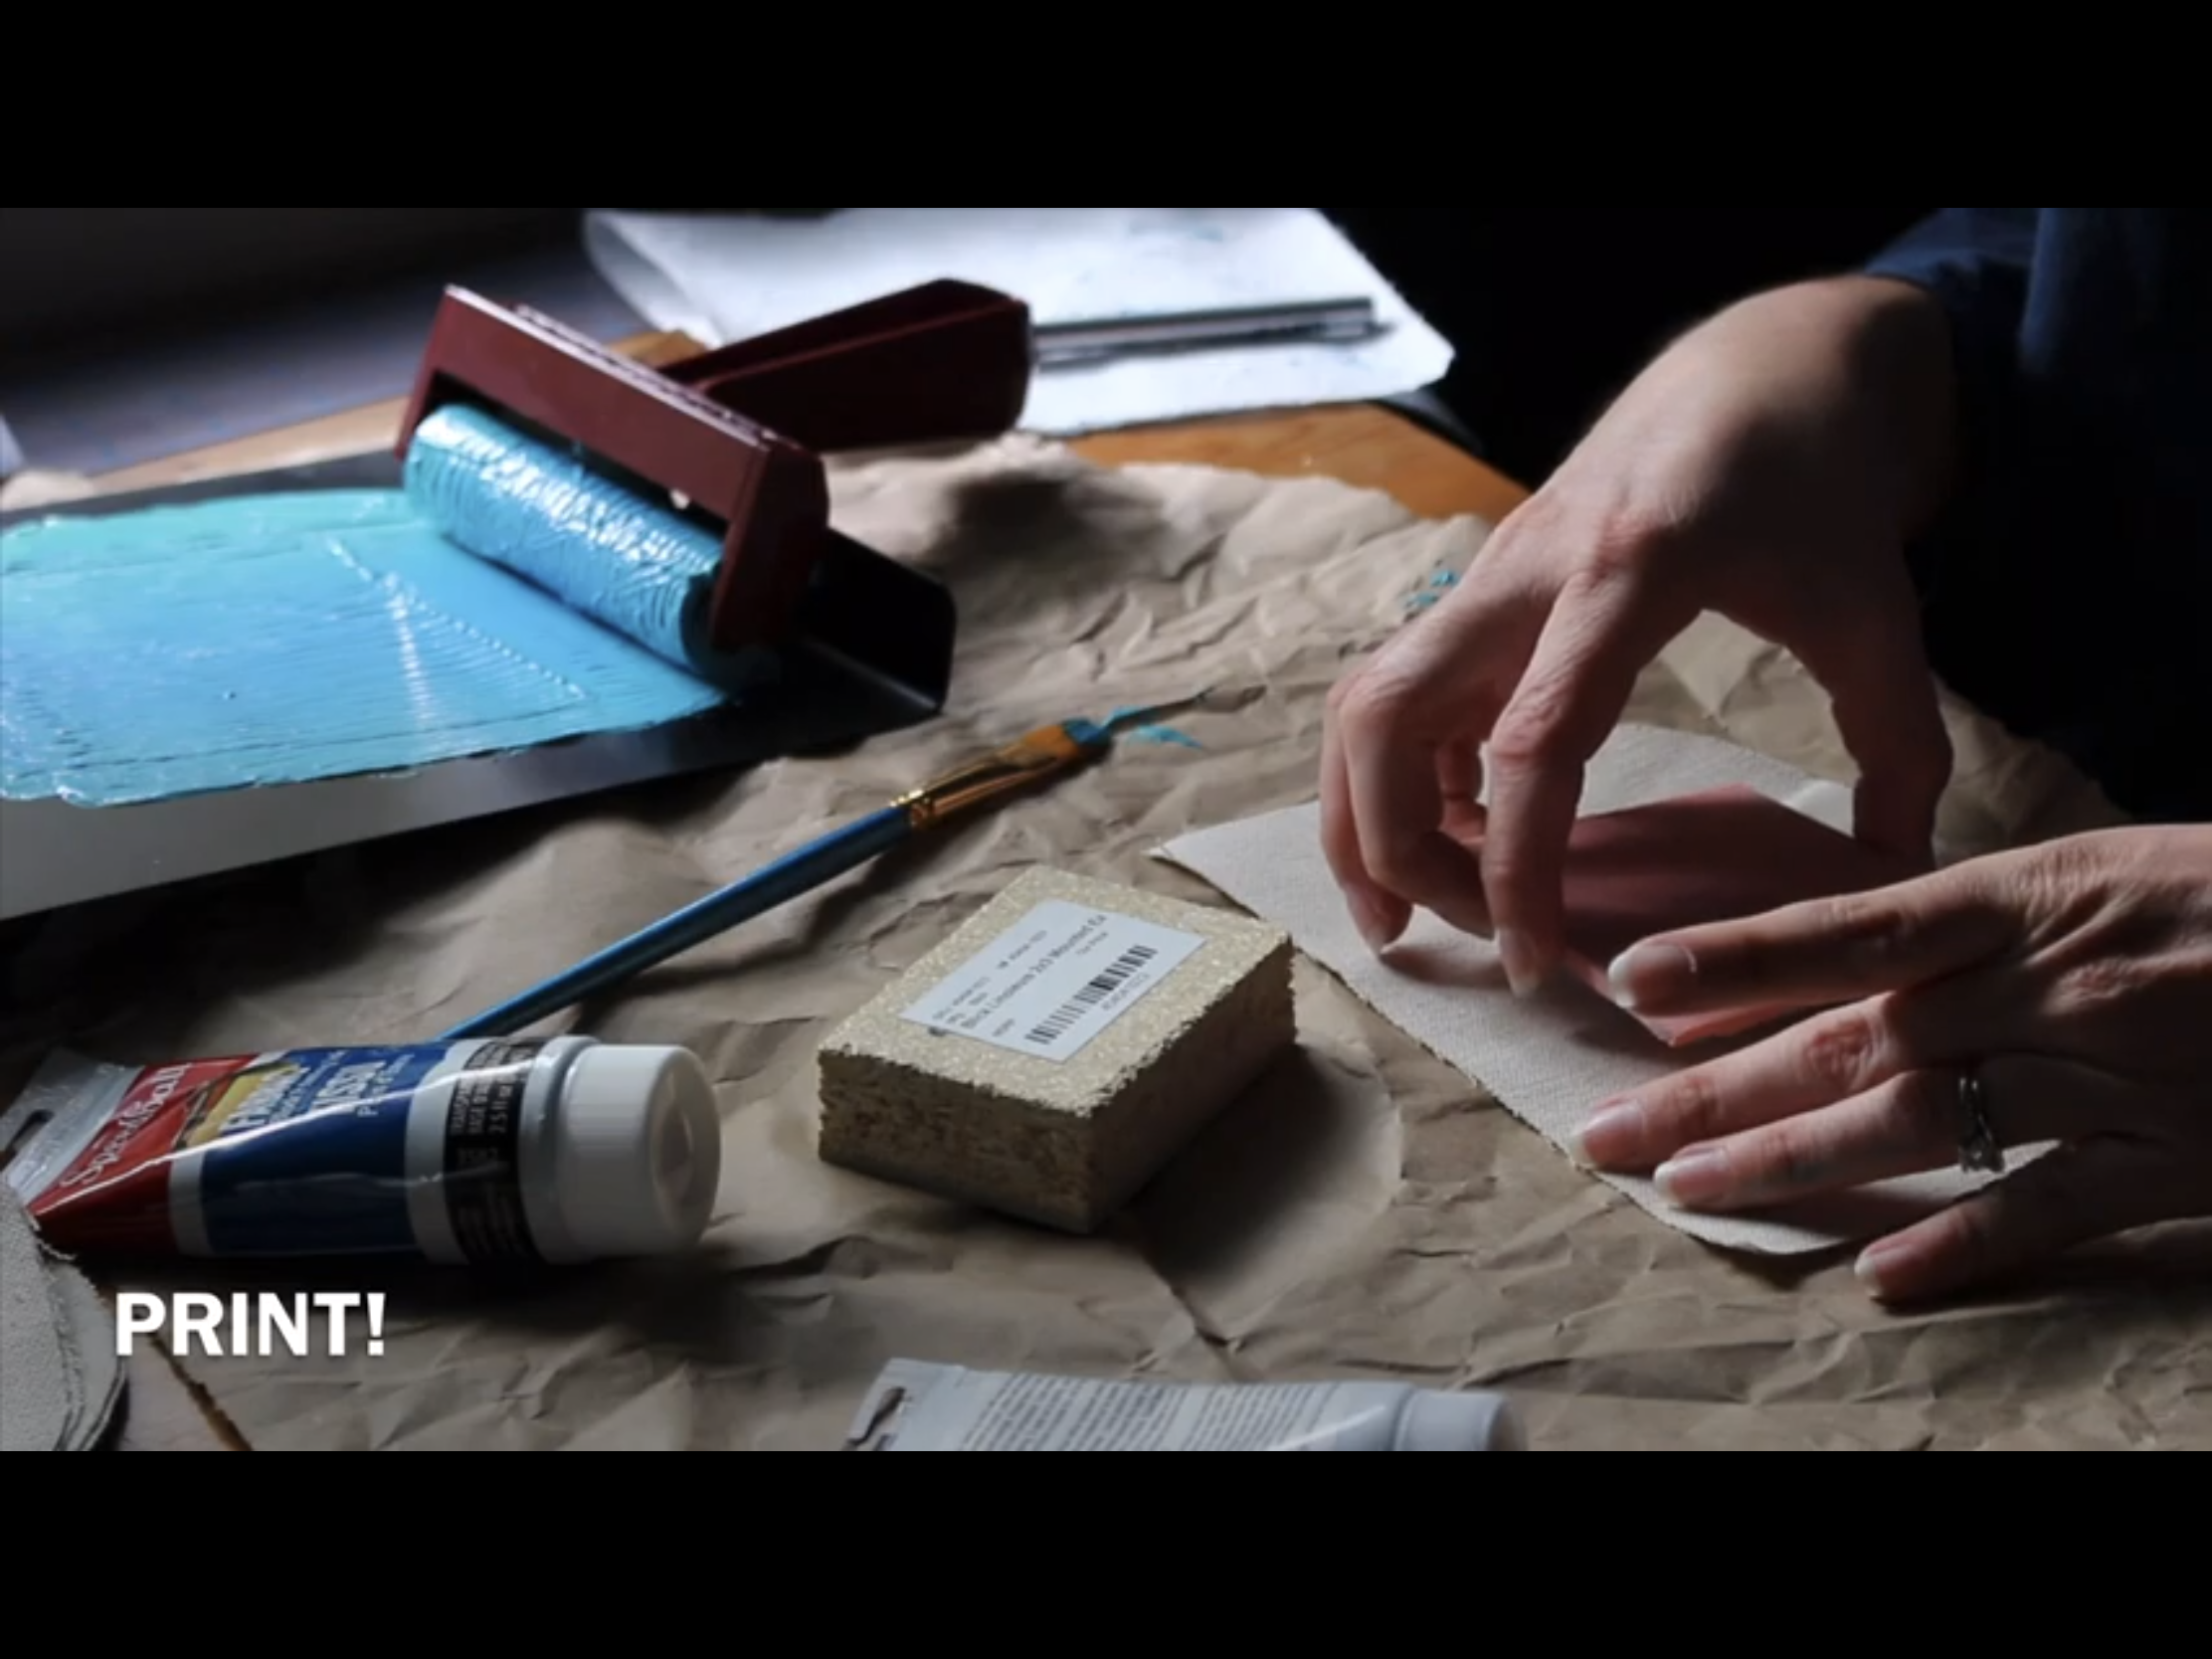
Here’s a quick video to show you the whole process of block-printing your canvas!
There are lots of different kids of surface design — block-printing, fabric-painting, batik, screen-printing, shibori dye, eco-printing, embroidery, sashiko, and surely others that I haven’t run into yet. Today we’ll focus on block-printing and fabric-painting.
Block-printing is printing on fabric or paper with a “block” or stamp that you carve out of some sort of carving matter — wood, linoleum, rubber or another material. To try block-printing for yourself, there are some supplies that you’ll need to gather.
Block Printing Supplies:
Carving tool. Carving tools usually come with various heads to carve different widths and levels of detail. There are different tools for wood-carving and linoleum carving, so make sure you’re choosing appropriately. This kit for beginners comes with a beginners’ carving tool. This carving tool has more heads for more precise carving.
Carving material. It’s easiest to start with a rubbery “speedy-carve” set — here’s one I like from Speedball. After you get used to speedy carve, try some linoleum.

You’ll also need block-printing ink! When you’re printing on fabric, use block-printing ink that is made for fabric and not water soluble. You will need to be able to take your bag outdoors and wash it if it’s dirty!
Optional but very helpful: a brayer for rolling out your ink, and an inking plate — though you can also use a piece of glass or very smooth plastic for spreading your ink!

Carving tips: (from a non-expert!)
When you’re first beginning, try not to choose a design that is too tiny or complex. It’s really hard to articulate the little details of a small stamp, and equally hard to get your ink to the right consistency to print it clearly. I was experimenting with a small stamp — the hand in the picture, and I got a few prints I was happy with but it was overall way too fussy to feel like a reliable stamp. Back to the drawing board!
Expect some trial and error! Start with something simple to get a feel for the tools and the ink and how it behaves. Don’t expect your prints to come out crystal clear — that’s part of the charm! Try different things until you start to feel confident.
You can draw your design directly onto your carving material with a soft pencil or marker, OR you can transfer it to the block using transfer paper. I usually draw my own designs using a pencil.
Use the various carving tool heads to your advantage! Some carve out wider areas, some carve out super fine details. I like to begin by tracing the outline of my design with one of the more fine heads, then going back and carving out the background with a wider head. I often switch heads many times to finish my stamp!
Carve the background deeply and evenly. You create little peaks and valleys when you carve, and you want to make sure than none of the peaks get inked along with your foreground design when you print! Try to even it out as well as you can. Be persistent! Do more than you think you need to!

Printing Tips:
Pre-wash your fabric if you want to wash it in the future! Otherwise things could get super weird when you wash! This is a good rule of thumb for every sewing project. I often don’t pre-wash canvas and don’t wash it later, just spot-cleaning as needed — I don’t like how canvas loses its characteristic stiffness in the wash.
Protect your workspace and clothing. I spread out extra brown paper that came in the package of something I bought online to protect the table in my workroom and put on an apron to protect my clothes. Paper block printing inks are water-soluble, but fabric inks are oil-based and permanent.
Open a window! Fabric block printing ink is smelly.
Put only a small amount of ink on your inking plate. A little will go a long way! I ended up with way too much ink on my inking plate because I was indecisive about my color-mixing. This is where practice really makes perfect!
Roll ink with brayer till slightly tacky and the ink starts to make little peaks. This is how you know you’re ready to start printing!
Test print first on paper, then on scrap fabric to get a feel for how your stamp turned out and how the ink is behaving.
When you print, press down with a baren or something like it. I use another flat and rigid piece of linoleum to help me press my prints down. Make sure to press firmly and evenly over all parts of the stamp, without bending the background down toward the fabric.
Is a little of your background showing up in your test prints? Wash off your stamp and re-carve if needed.
Plan ahead! You can’t sew with your prints right away. Many inks need to be heat-set (use your iron and a pressing cloth!) to become permanent — read the instructions carefully for the ink you’re using. There is also often a curing time for your prints. Mine needed to rest overnight, but some need longer to dry.

Painting tips:
Use fabric paint! I like this kind from Jaquard, but there are tons of options out there. Look around and try different paint brands until you find one you like to use. And normal paint brushes work great, you don’t need to buy anything special for painting fabric.
Canvas is idea for fabric painting because it’s rigid and stays put. To paint lighter fabrics, tape it out taut and protect the surface behind the fabric.
Fabric painting is great for a more irregular painterly look, whereas block printing gives a more regular result. When I’m using fabric paint, I like to experiment with stripes, dots, etc.
Some fabric paints can be thinned with water — make sure you read the instructions for the fabric paint you buy.
Most fabric paints need to be heat-set and have a certain curing time — make sure to read the instructions for the fabric paint you buy.

Happy printing and painting! Can’t wait to see the one-of-a-kind fabrics you design. We’ll still be here experimenting and making patterns to sew things into!