how we develop sewing pattern instructions at all well
Why write this?
We love making sewing patterns, we love talking about making sewing patterns, and we love reading about how other people make the things they make. Too often it seems like all answers to the questions we have are kept behind locked doors, or there’s only partial information available. There are lots of gatekeepers in every industry, and we want to be more like a window than a gate as much as we can be. We’ve found a process that works for making the instructions and diagrams for our sewing patterns, and if reading through our process can help you in any way then that’s incredible! Capitalism sucks, sharing info is good, we want more patterns made and to make it easier, we want to help!
How we work:
We are a two-person collaboration, which absolutely influences the way we work. Things would look different if this were just one person’s project, or if we had a whole team of people working. Still, the process would probably be fairly similar if carried out by a different amount of people – just with less or more facetime calls and checking in for feedback.
Our instructions definitely feel co-authored. The text isn’t written in either of our distinct voices, and we each hold the work loosely and welcome edits to things we’ve added. This comfort in collaboration took a while to develop, but it also helped that we started with similar sensibilities but different strengths in that regard. Over time, the edits and suggestions have become fewer and fewer, simply because we’ve learned each other’s and All Well’s style over time.
We take whatever time we need – we definitely have goals for what we launch and when we launch it, but we also keep things flexible and don’t necessarily expect things to happen in any particular time frame.
As with all of our patterns, no claims here that this is the best way to do things, it’s just the way that is working for us! Developing processes is a creative process and a very personal process. Different things work for different people!
Here’s what the process looks like:
Let’s say we have our final sample pattern draft and sewn prototype, the pattern file and grading are underway in Sketch, and we are ready to get started writing the sewing instructions and making the diagrams.
1. Make google drive folder for the pattern. Here’s an example of our template folder with the instructions and sizing/fabric measurement charts in the folder.
2. Within the folder, make a copy of our “pattern instruction template” and rename it to be the pattern we’re working on. This pattern template has all the sections we usually use for instructions, and also has the brand styles for Normal Text, Heading 1, Heading 2, and so on. Here is an example of the sewing pattern instructions template we’ve developed for All Well. You are welcome to make a copy to adapt for your own use.
3. Sew a new prototype, taking detailed flat photos of each step on iPhone. Airdrop photos to iPad.
4. Whoever sewed the prototype writes a rough numbered list of the sewing instructions in sewing shorthand, sometimes we do this together while chatting.
5. Together (usually on a video chat) we go through the sewing instructions step by step, writing them out in more detail and make sure that they are clear as they can be. At each step, we ask ourselves:
Are there any tips that we just “know” from our sewing experience that people new to sewing wouldn’t necessarily know?
Is there a way to make this clearer?
What should the diagram show for each step?
Does this step need to be broken up into two steps, or combined with another step?
6. Diagram making time, in Sketchbook on iPad with Apple pencil:
Make a folder in sketchbook
Create a new high-resolution drawing page for each step. We use the same size (3500 x 5000 pixels) for each image, to keep them consistent.
Import reference photo onto page.
In new layers on top of the reference photo, make an initial sketch based on photo, tracing general shapes so the diagram is technically correct and in scale.
Build final diagram by removing unnecessary information, and adding detail and clarity as needed to show the needed action for the sewing step and highlight tricky areas.
Hide the photo layer completely and make sure the diagram looks right.
7. Once the diagrams are done, export them from Sketchbook and put them into the flow of the instructions Google doc. Usually this is right from the iPad into the google doc, and then any cropping is done in the google doc while on the computer.
8. We add in the size chart and fabric usage chart into the Google Doc by copy and pasting from the Sizing and Measurement Google Sheet. We like leaving it “linked to the spreadsheet” so that as we update the google sheet content, the tables in the Google Doc can be updated without having to re-copy paste. Here’s an example that gives the basic idea of our template.
9. We each make edits to the instructions text, and often use the comments feature in Google Docs to ask questions about certain parts for each other when not working at the same time or to recommend changes.
10. Edit diagrams that need small tweaks, creating new diagrams that we realize would add clarity, or adding/subtracting information in existing diagrams. (Initially we did a lot of this, but as we’ve developed a shared style and visual language, there’s much less redoing and re-uploading diagrams.)
11. At some point in this process, one of us sews (usually Amelia) another sample while attempting to pretend that we have no other knowledge than exactly what is written in the instructions. Is there anything missing? Unclear? Out of order? Diagram tweaks?
12. Final proofreading to make sure we don’t have any more edits. We also do spellcheck, find and replace all the -- with —, make sure that each step’s diagram is on the same page as the corresponding text, and update the Table of Contents.
13. In the google doc, File > Download > PDF document (.pdf) to create the instructions document. We move the instructions into the folder for the final product, where we also put the print-at-home and copyshop versions of the PDF pattern. Once everything is in there, we right click the folder in Finder to “Compress…” into a .zip file. Now, the pattern + instructions are now ready to get used by other people!
Tools we use:
Google Drive: Folder for the pattern and all related files [free]
Google Doc: Instructions
Google Sheet: Size chart, fabric usage calculations
Note: A lot of indie sewing pattern making people use Adobe inDesign for making the instructions, but that isn’t easily collaborative in real-time (and costs more money than we want to budget), so we don’t use it.
Sketch [$99, https://www.sketch.com/, Mac only] for making patterns, some of the diagrams, and estimating fabric usage. (Many indie patternmakers use Adobe Illustrator (more $$), and of course both of these are much less accurate and fast than CAD based pattern making systems used in industry.)
Sketchbook by Autodesk [free, https://sketchbook.com/, on iPad, Mac, PC] for drawing the diagrams for our Instructions
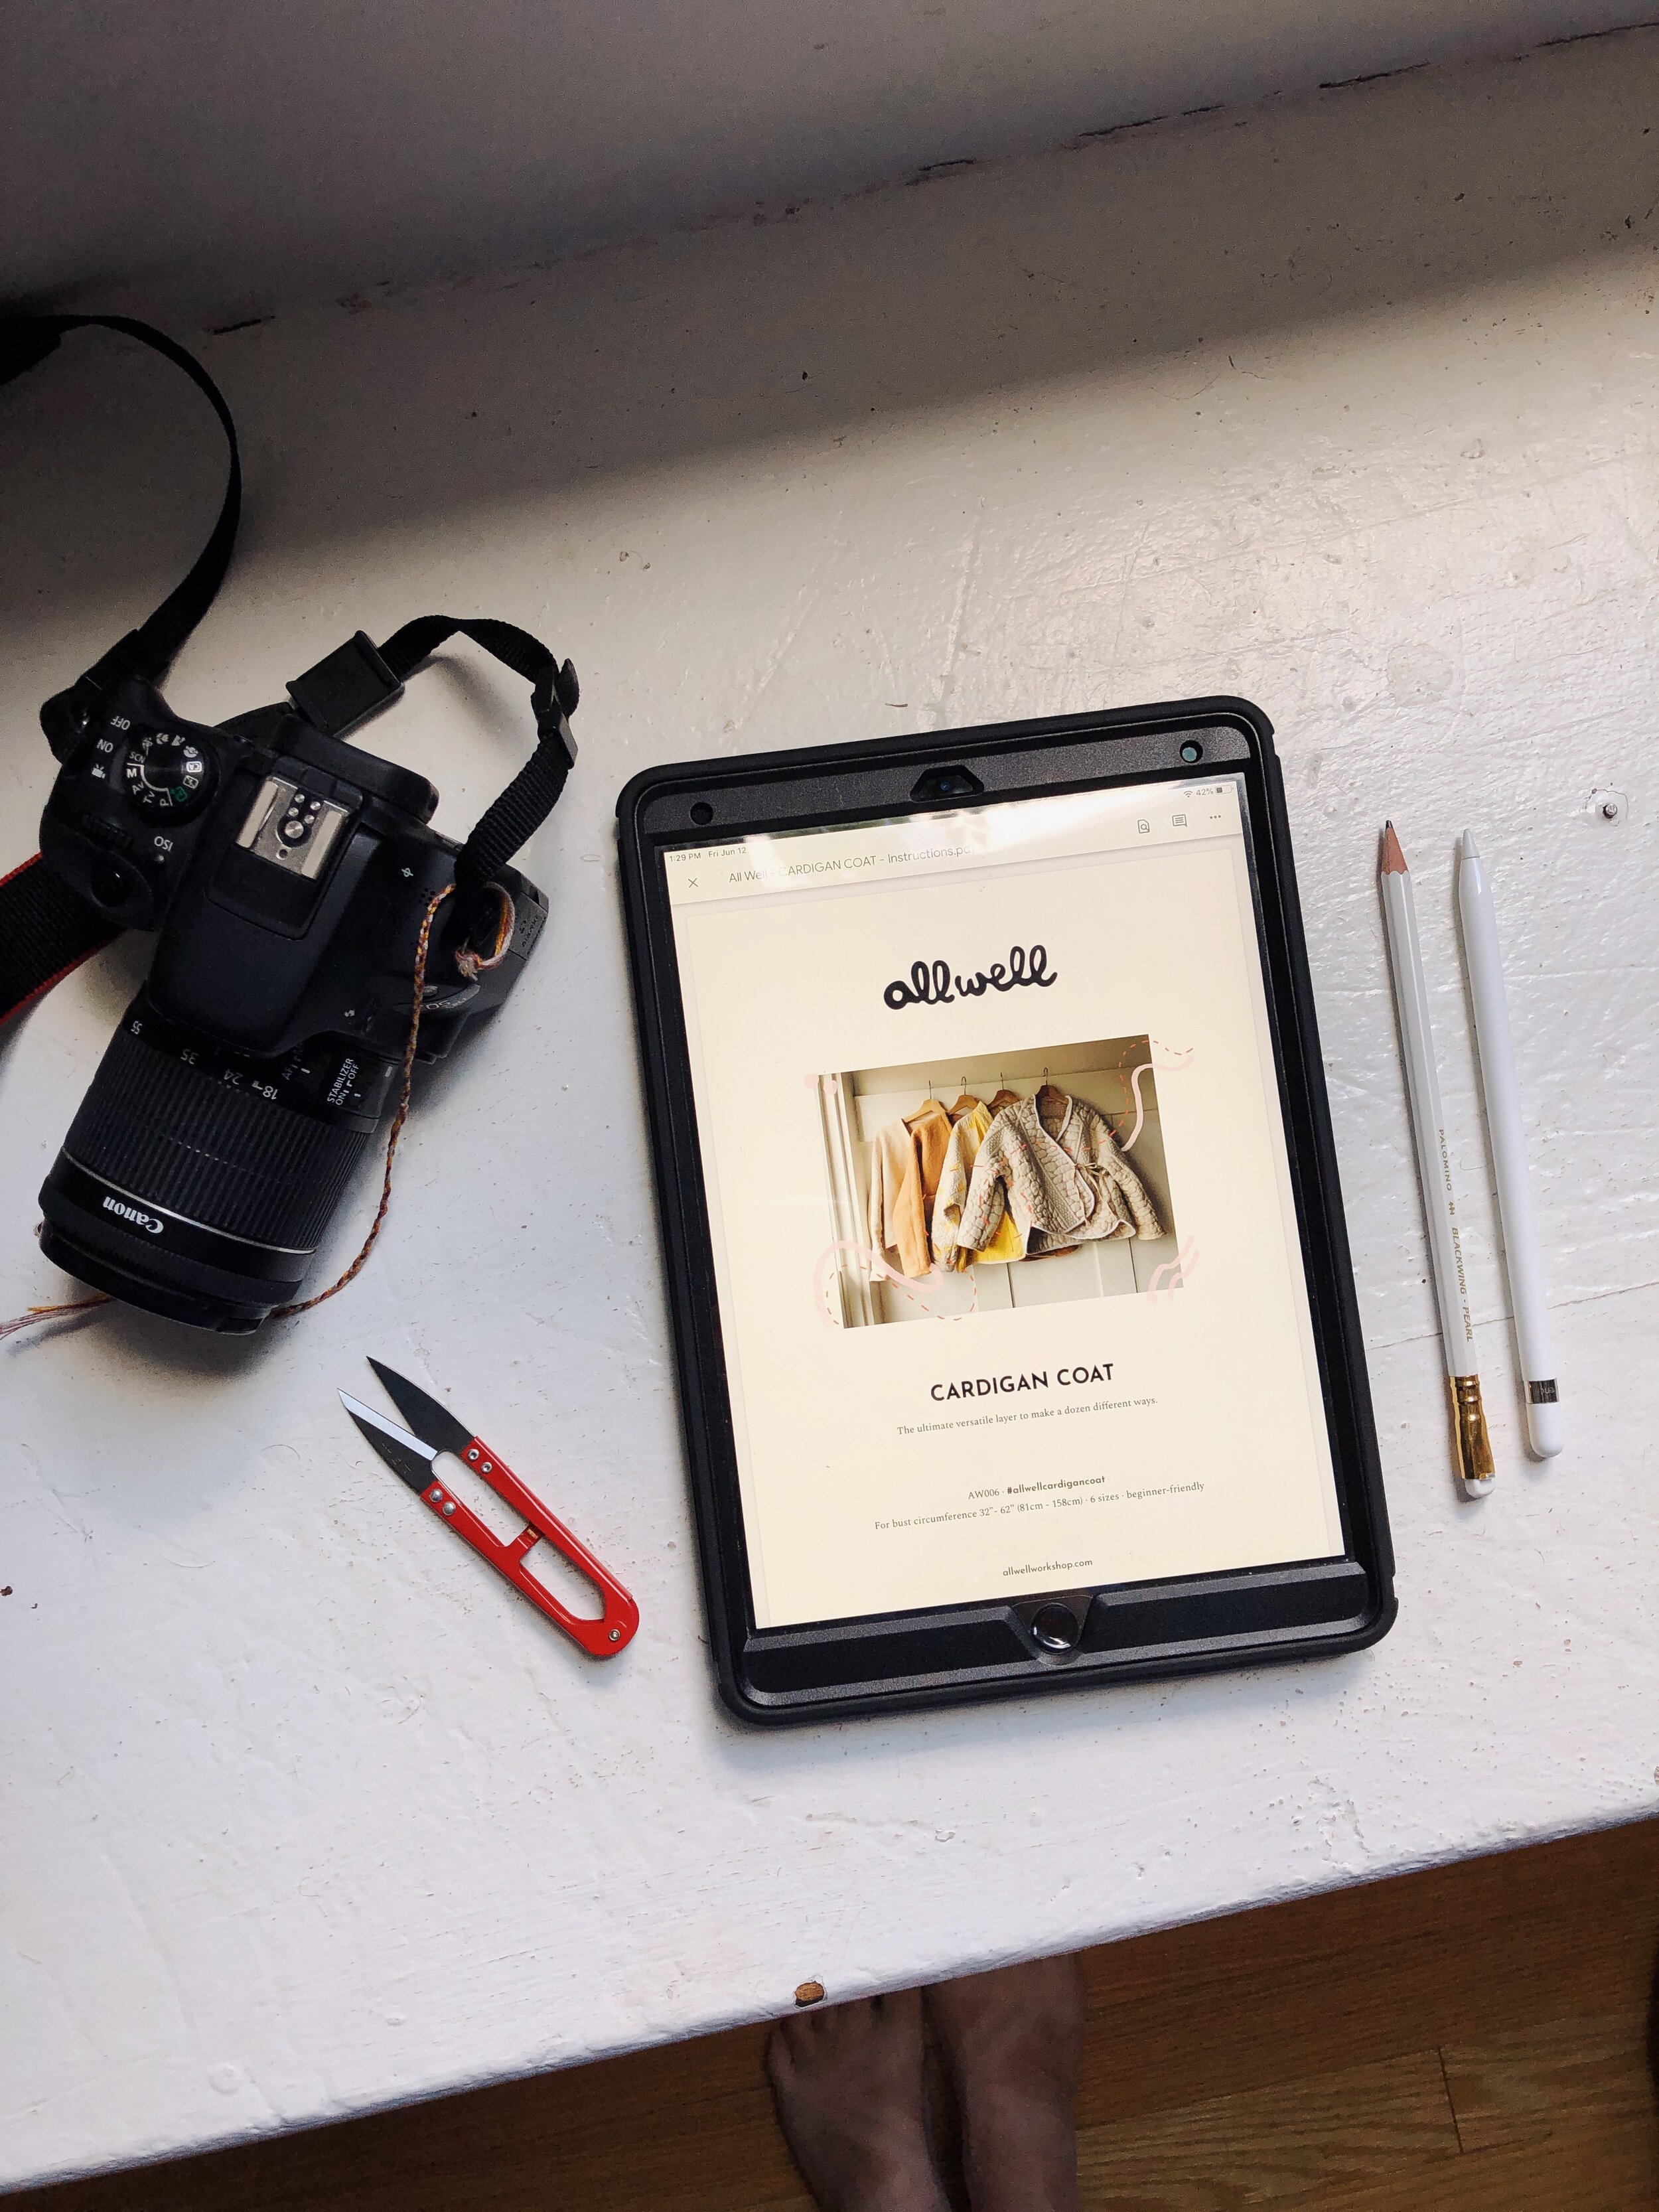
We heavily use an iPad and Apple Pencil for this
Notebook, pen and pencil, paper, rulers, etc.
iPhone for quick photo-taking, DSLR for marketing imagery
Some books that influenced the development of the diagrams and instructions process:
Badass: Making Users Awesome (What do people need to know, when?)
Understanding Comics: the Invisible Art (How do you convey the right information in the diagrams?)
Making Things Happen: Mastering Project Management (Product management approach to figuring out what to do/why, getting things done in a repeatable way.)
Publish your Patterns! How to Write, Print, and Market your Designs (What is needed for writing and publishing sewing patterns.)
Here’s the list on Bookshop.org to find them at local bookstores. Publish your Patterns! is out of print, we both read it from the library.
Over time we’ve:
Made a template for our Instructions so they follow the same basic flow and use the same formatting each time
Developed style rules for our diagrams including line types, colors, and general look and feel.
Worked to simplify and clarify the technical language we use so that our patterns are easy to follow and understand for sewists at every level.
Learned that using a combination of various programs and tools (i.e iPad and Sketchbook app for illustrations, computer and google docs for writing instructions) helps maximize our productivity.
Settled into a collaborative partnership where certain tasks fall to each of us in a similar way for each pattern – though there’s always room for flex, and it’s fun to take on different parts of the process than we usually do too.
Learned that frequent and regular communication helps us keep the work going. Right now we have weekly standing times for facetime calls and that’s been working well. We also text as needed when there are smaller updates or questions. It’s surprisingly easy to work with someone who lives across the country - we are two hours apart in timezones.
Gotten much quicker! It took us a few months of working together to fall into this flow and develop our style. Now there’s less figuring out how to do things, and more doing things.
Found things that feel like All Well signatures, or the details/voice that make our instructions and style unique. This took a few months to develop too, and is always shifting as we change and our work changes. We’ve definitely realized over time what things we like to focus on and what’s important to us.


